Plumbing · 45 minutes · Free
How To Flush a Water Heater
Sediment — minerals that naturally precipitate out of tap water — slowly accumulates on the floor of your tank. Over time it insulates the heating element, forces the burner to work harder, raises energy bills, and quietly shortens the life of a unit that costs $800–$1,500 to replace. A once-a-year flush takes less than an hour, costs nothing, and is one of the highest-return maintenance tasks in the house.
-
Turn Off the Heat Source
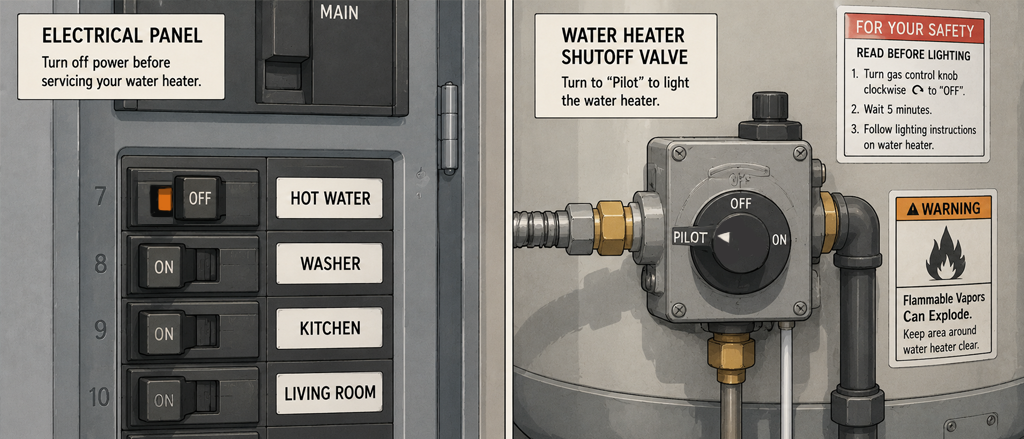
Before doing anything else, cut power to the heating element so it can't run dry and burn out during the drain.
- Gas water heater — turn the thermostat dial on the gas valve to Pilot. Do not shut off the gas entirely; Pilot keeps the standing pilot lit without firing the burner.
- Electric water heater — go to your breaker panel and flip the dedicated double-pole breaker for the water heater to Off. Electric elements will burn out instantly if energized without water covering them.
Tip: Not sure which type you have? Gas heaters have a flue pipe (metal duct) rising from the top. Electric heaters have two access panels on the side covering the upper and lower elements.
-
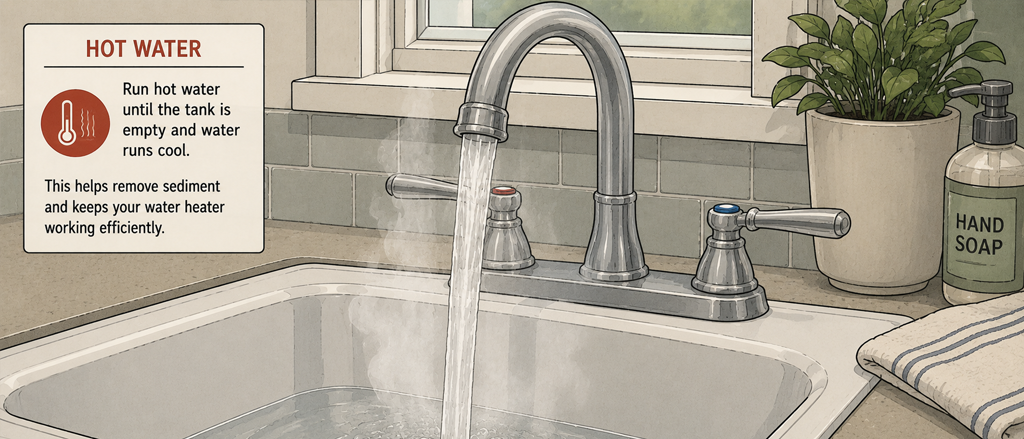
Let the Water Cool
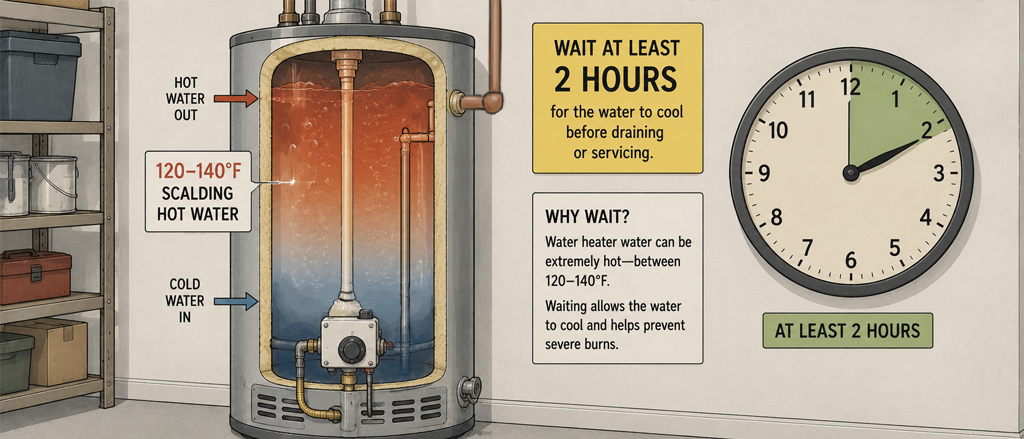
Tank water sits at 120–140°F. Give it at least 1–2 hours to cool before you open the drain valve — hot water under pressure can cause serious burns.
Want to speed things up? Take a shower or run a hot-water tap for several minutes after shutting off the heat. Drawing hot water out of the tank pulls cold supply water in from the bottom, cooling the tank much faster than simply waiting.
Best practice: Shut off the heat the night before and do the flush first thing in the morning. The water will be at room temperature and the job will be much safer and more comfortable.
-
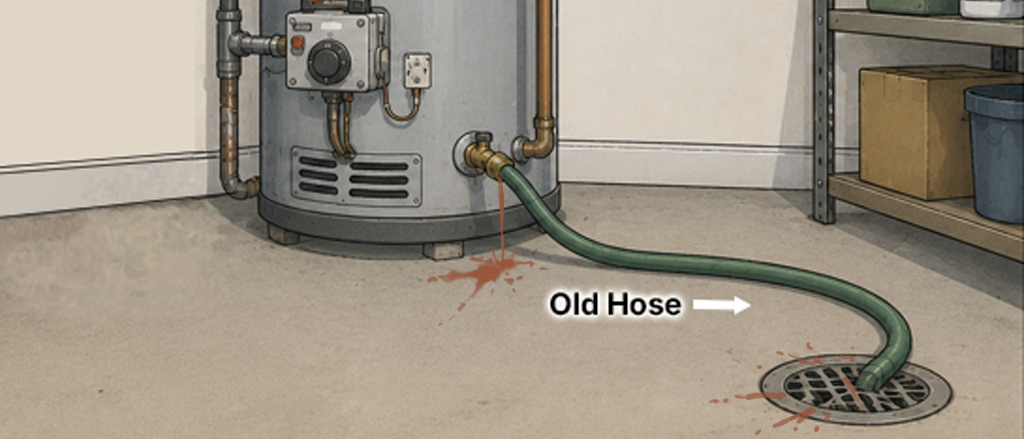
Connect a Hose to the Drain Valve
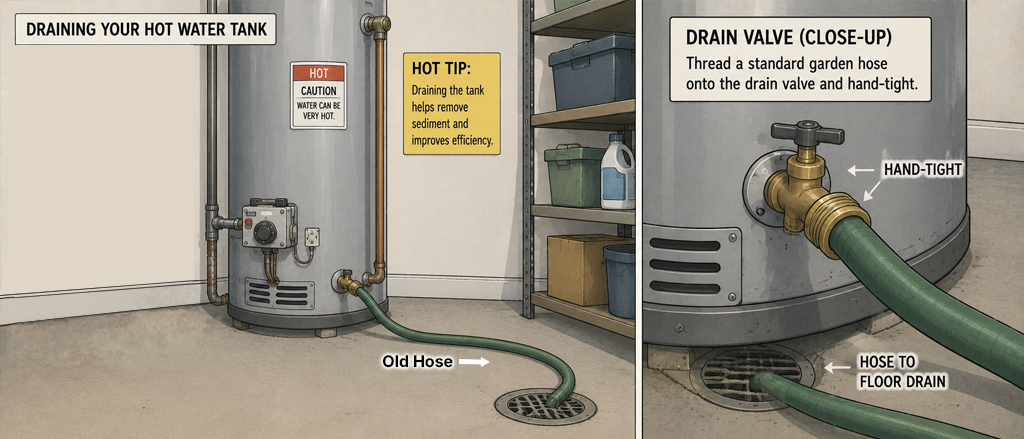
Find the drain valve near the bottom of the tank — it looks like an outdoor hose bib. Thread a standard garden hose onto it hand-tight.
- Run the hose to a floor drain, utility sink, or out a door to the yard.
- Make sure the hose end is lower than the valve; if the discharge end is higher than the valve, water will back up and not drain.
- If the drain valve hasn't been opened in years it may be stiff — a flathead screwdriver slotted into the handle gives extra leverage.
Tip: Run the hose outside if possible. The first water out often carries discolored, sediment-laden water you'd rather not dump into a sink or floor drain.
-
Turn Off the Cold Water Supply
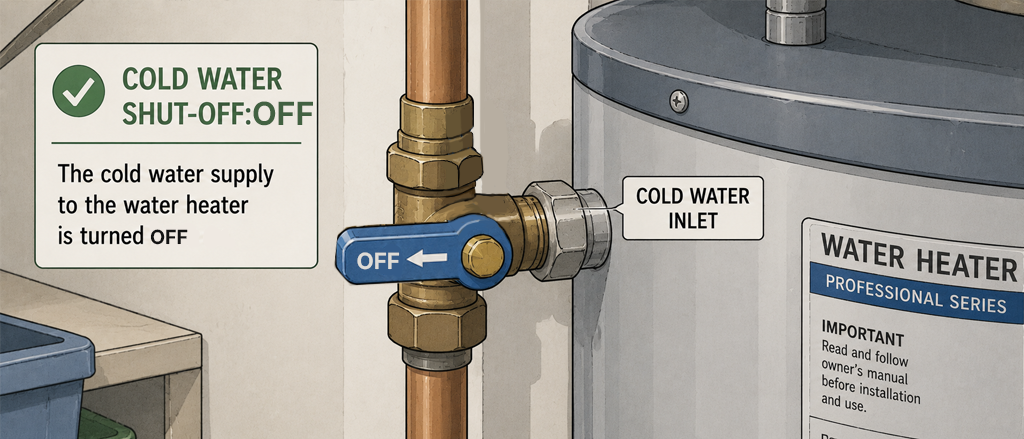
Find the cold water supply valve on the pipe entering the top of the tank and turn it off. This is almost always a gate valve (round wheel handle) or ball valve (lever handle) directly above the heater.
- Gate valve — turn clockwise until snug. Don't over-tighten.
- Ball valve — rotate the lever 90° so it sits perpendicular to the pipe.
Why it matters: If you skip this, the supply line keeps pushing cold water into the tank as it drains — the tank never empties and you never flush the sediment sitting at the bottom.
-
Open a Hot-Water Tap Nearby
Before opening the drain valve, open a hot-water faucet on the floor above or the nearest sink. Leave it open for the entire drain.
Why it matters: Without this, a partial vacuum forms inside the sealed tank and the water barely trickles out. The open tap lets air in from the top so the tank drains freely — the same principle as putting your thumb over a straw.
-
Open the Drain Valve and Drain the Tank
Slowly open the drain valve — turn it counter-clockwise or flip the lever. Water will begin flowing through the hose.
- The first water out is often brown, rusty, or murky with visible flecks — that's sediment, and exactly what you're clearing out.
- A standard 40–50 gallon tank takes 20–30 minutes to drain fully.
- If flow is very slow, the drain valve may be partially clogged with sediment. Opening and closing it a few times can break the blockage loose.
Tip: Drain a small amount into a white bucket first to judge how much sediment is present. Heavy sediment on the first flush is a sign the tank hasn't been maintained in a long time — you may want to do a second flush cycle.
-
Flush With Cold Water to Clear Remaining Sediment
Once the tank is empty, turn the cold-water supply back on briefly. This agitates and flushes out sediment still sitting on the tank floor.
- Let cold water run for 1–2 minutes, then shut the supply off again.
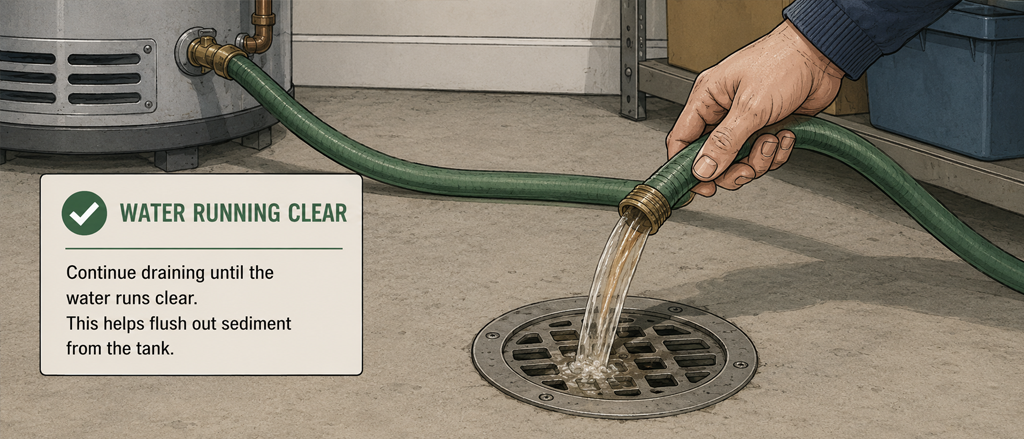
- Watch the hose discharge — repeat until the water runs clear with no visible particles.
- One or two flush cycles is usually enough; heavily neglected tanks may need three.
Tip: When you're satisfied the water is running clear, close the drain valve firmly. A dripping drain valve after reassembly usually means sediment is caught in the valve seat — open it fully one more time to flush it out, then close again.
-
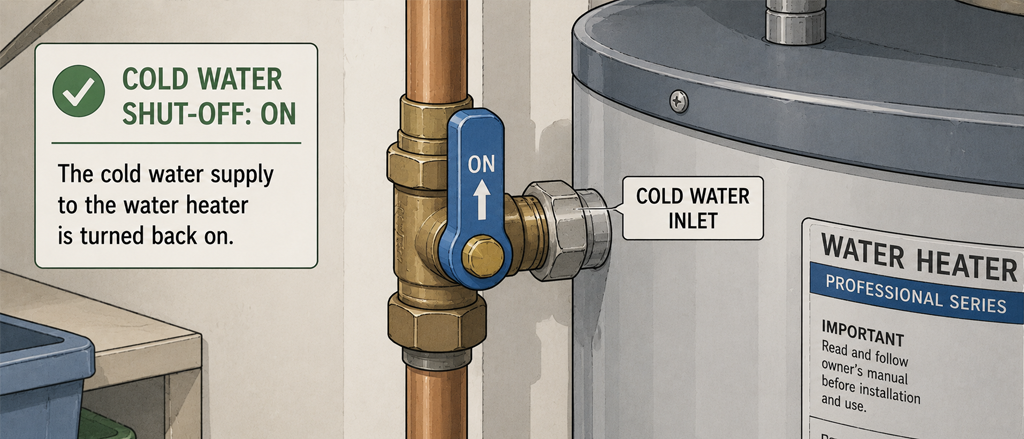
Refill the Tank and Restore Power
Close the drain valve, disconnect the hose, and turn the cold-water supply valve fully back on. Keep the hot-water tap open — when water flows steadily from it, the tank is full and air has been purged.
- Electric: Flip the breaker back on. The elements are now safely submerged.
- Gas: Return the thermostat dial from Pilot to your normal setting — 120°F is the standard recommended temperature. Relight the pilot if it went out.
- Allow 30–60 minutes for the tank to fully reheat before expecting hot water at the taps.
Tip: 120°F is hot enough to kill legionella bacteria and comfortable for most households. Temperatures above 130°F increase scalding risk, especially for young children and elderly residents.
-
Set an Annual Reminder
A water heater flush should happen once a year — more often if you have hard water (visible mineral scale on faucets is a clue).
- Soft water areas — once a year is sufficient.
- Hard water areas — every 6 months will keep sediment from building up significantly between flushes.
- While you're here, check the anode rod every 3–5 years — it's the sacrificial metal rod that prevents the tank from corroding. Replacing a $30 anode rod can double the life of the tank.
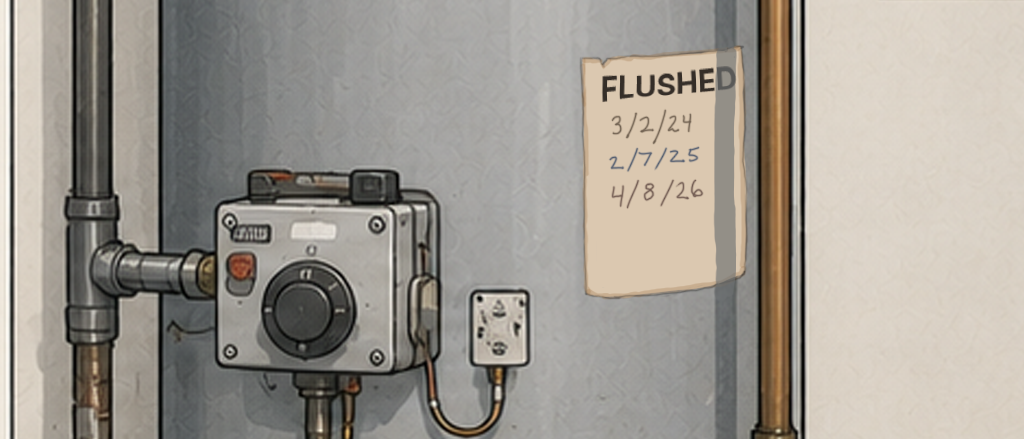
Tip: Log today's flush in ManorKeep with the date and any notes on sediment color. A year from now you'll have a record of what you found and can compare whether conditions are improving or getting worse.
Quick Reference
Home maintenance, handled
Stop relying on memory for your home's upkeep
ManorKeep gives every system in your home its own maintenance history. Log today's flush, schedule the next one, and build a record that proves care when it's time to sell.
Join the early access list
Be the first to know when ManorKeep launches — and lock in free early access.
Get notified at launchNo spam. No credit card. Just an update when we're ready.